
Welcome! I'm excited to be the last stop on Benartex's 12 Days of Christmas Quick Gift Project Hop! If you missed the other 11 days, scroll to the bottom to find the links.

Whether you're going green or just short on wrapping paper, fabric gift and wine bags are a great solution for paper gift wrap. These go together so quickly that you can still stitch up a few bags before the holidays; you can also sew some after the holidays to get a head start for next year!

I chose to use the icy prints in the Pearl Frost collection from Kanvas. These prints have a pearlescent finish, so the shimmer, adding a little extra holiday sparkle. I love the variety of blues! The snowflake print, which you'll see in the gift bag, is my favorite.

I have two quick tutorials to share with you today: a fabric gift bag and a fabric wine bag. The wine is not included; you'll have to provide your own. :)
Making the Gift Bag:
 |
| Bag finishes at approximately 10" x 14" x 5" |
You'll Need:
- 1/2 yard each fabric
- 1/2 yard lining fabric
- Approximately 40" of 3/4" wide ribbon
Cutting:
From outer bag fabric:
Cut (2) 15" x 20" pieces
From lining fabric:
Cut (2) 15" x 20" pieces
Step 1 Place the (2) 15" x 20" outer bag pieces right sides together and pin along both long sides and one short side. Sew along pinned edges, leaving top edge open.
Step 2 Repeat with the (2) 15" x 20" lining pieces.
Step 3 Cut 2-3/4" squares out of the (2) bottom corners of both the outer bag and lining (lining shown below).

Step 4 Align the side and bottom seam where you just cut and pin raw edges. Stitch along the the using a 1/4" seam allowance to box the corner. Repeat on remaining lining corner and on both outer bag corners.

Step 5 Turn outer bag right side out. Slide lining into the outer bag with wrong sides together. Align side seams and pin along the top edge. Stitch around top edge using a 1/8" seam allowance.

Step 6 Turn bag lining side out. Fold stitched top edge 1/4" to lining side and press. Fold top edge over an additional 2" and press as shown.

Step 7 With bag still lining side out, stitch along bottom of folded edge 1/4" from fold as shown, creating a casing.

Step 8 Turn bag right side out. Use a seam ripper to open 1-1/4" of the seam in the casing on both sides of the bag.

Step 9 Cut the ribbon in half and using a safety pin, pass (1) 20" ribbon piece through the casing starting and ending at the left side opening. Tie the ends in a knot. In the same way, pass the remaining ribbon piece through the casing starting and ending at the right side opening.

Tuck your gift inside (bag is large enough to hold a shirt, several books, a fat quarter bundle, etc.). Cinch ribbon to close bag. Give your gift!

Making the Wine Gift Bag:

Simple Wine Bag:
You'll Need:
- 1/2 yard fabric (includes both lining and outer bag)
- 15" of 1/2"-wide ribbon (optional)
Cutting:
From fabric:
Cut (2) 11-1/2" x 18" pieces
Step 1 Fold (1) 11-1/2" x 18" piece in half right sides together so it measures 5-1/4" x 18". Using a 1/4" seam allowance, sew along one short edge and one long edge, leaving the top short edge open. Repeat for the lining piece, leaving an opening along the short edge for turning (see second photo).

See stitch lines shown in digital pink--leave opening for turning later.
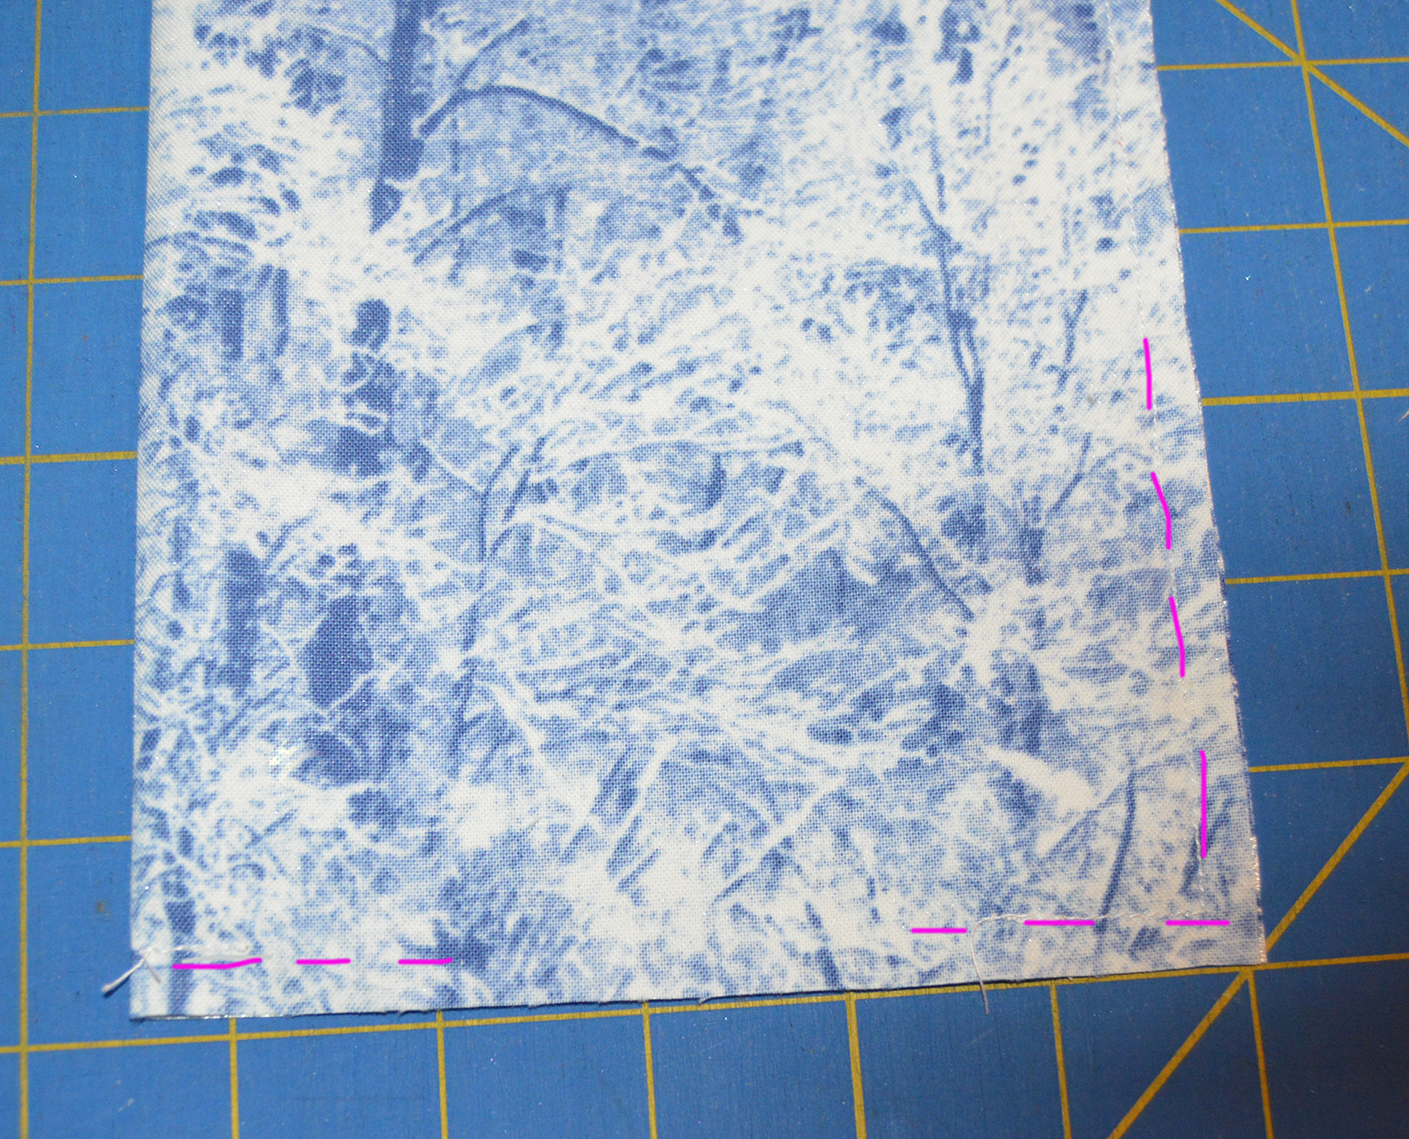
Step 2 Turn outer bag right side out and tuck inside the lining, aligning side seam and raw edges at the top. Pin to secure. Stitch around the top edge using a 1/4" seam allowance.

Step 3 Turn the bag right side out through the opening in the lining. Sew the opening closed.
Step 4 Tuck the lining into the outer bag and press the top edge of the bag. Topstitch along the top edge using a 1/4" seam allowance.

Pieced Wine Bag:
You'll Need:
- 1/8 yard each two different fabrics
- 1/2 yard fabric (includes both lining)
- 15" of 1/2"-wide ribbon (optional)
Cutting:
From each outer bag fabric:
Cut (2) 3-1/4" x 18" pieces
From lining fabric:
Cut (1) 11-1/2" x 18" piece
Step 1 Sew the (4) 3-1/4" x 18" outer bag pieces together lengthwise, alternating colors.

Step 2 Follow steps 1-4 from the Simple Wine Bag to complete this wine bag.

Insert a wine bottle, tie top with ribbon if desired, and bring to your next holiday party!

Enjoy the holidays!
If you're looking for more festive inspiration, check out this holiday quilt post.

Procrastinating your wrapping? Need a little more fabric gift inspiration?
Check out the other projects featured in the Quick Gift Project Hop!
12-Dec Debby Kratovil
13-Dec Rachel Rossi 14-Dec Ann Lauer 15-Dec Stephanie Sheridan 16-Dec Carol Swift 17-Dec Pat Sloan 18-Dec Julie Cefalu 19-Dec Shelley Cavanna 20-Dec Linda Leathersich 21-Dec Charisma Horton 22-Dec Cherry Guidry 23-Dec Lisa Ruble - you're here!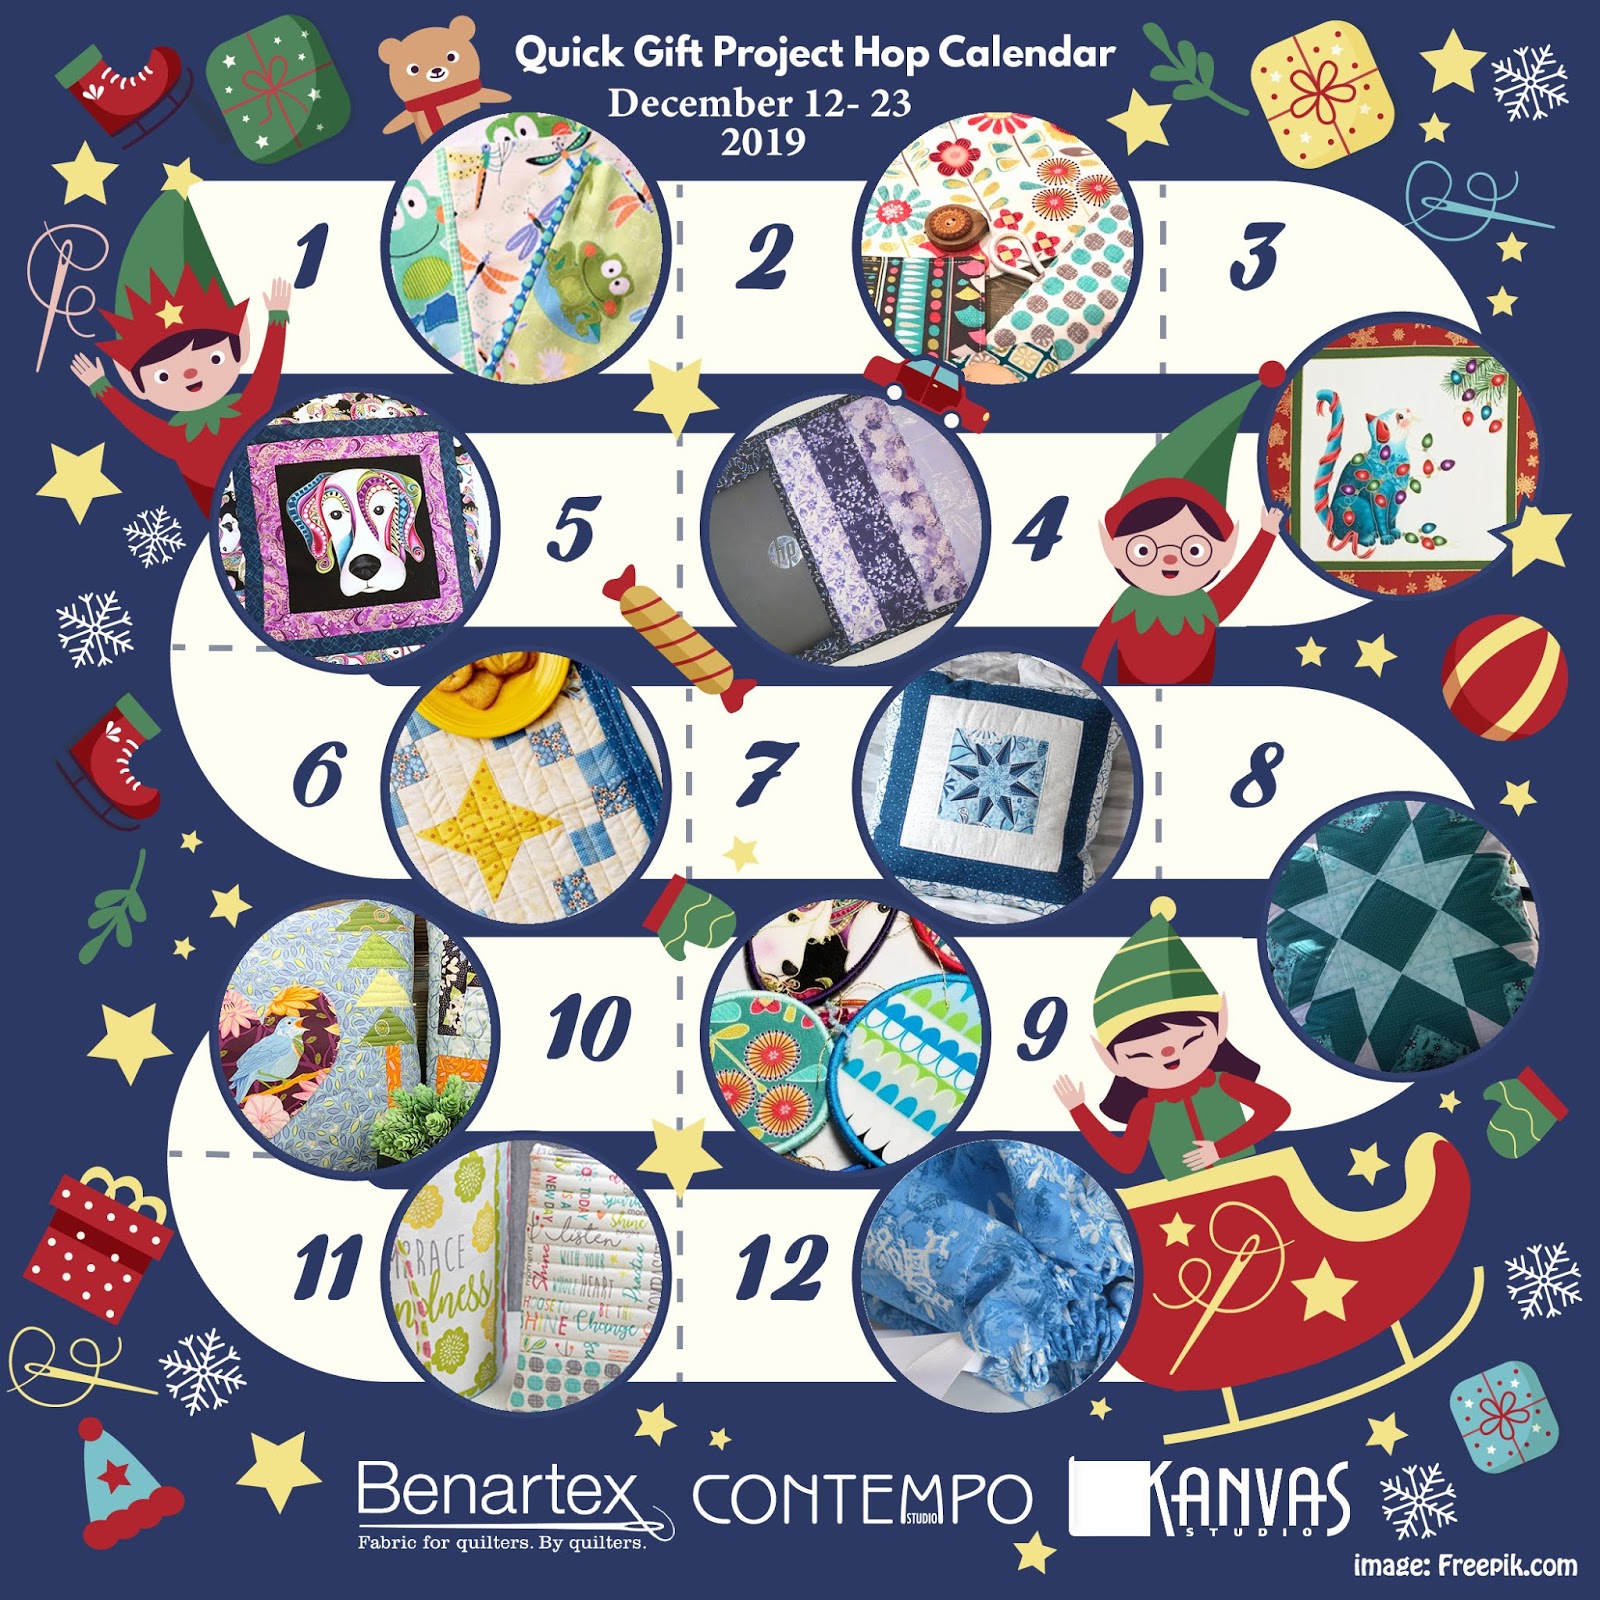
No comments:
Post a Comment